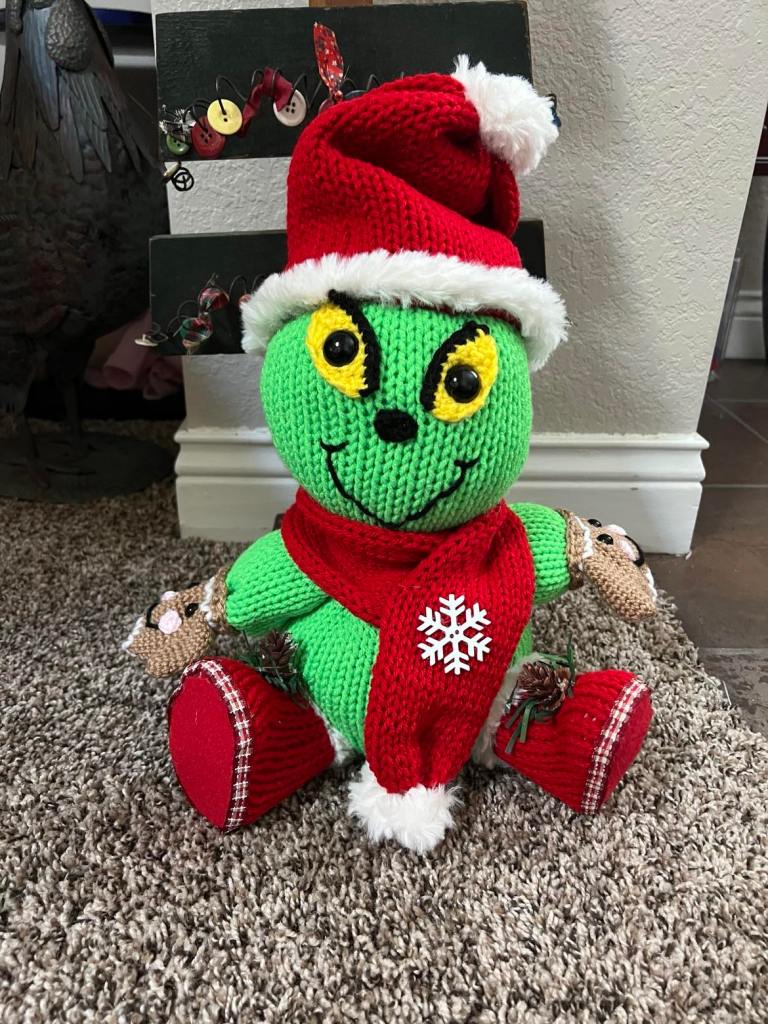
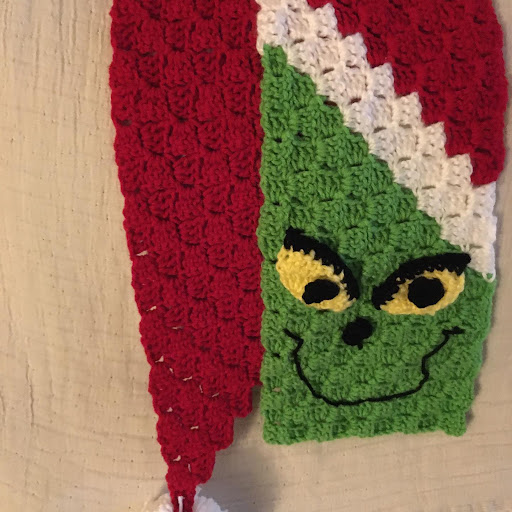
Do you love the Grinch?
I do. Personally, I love the Dr. Seuss cartoon version best.

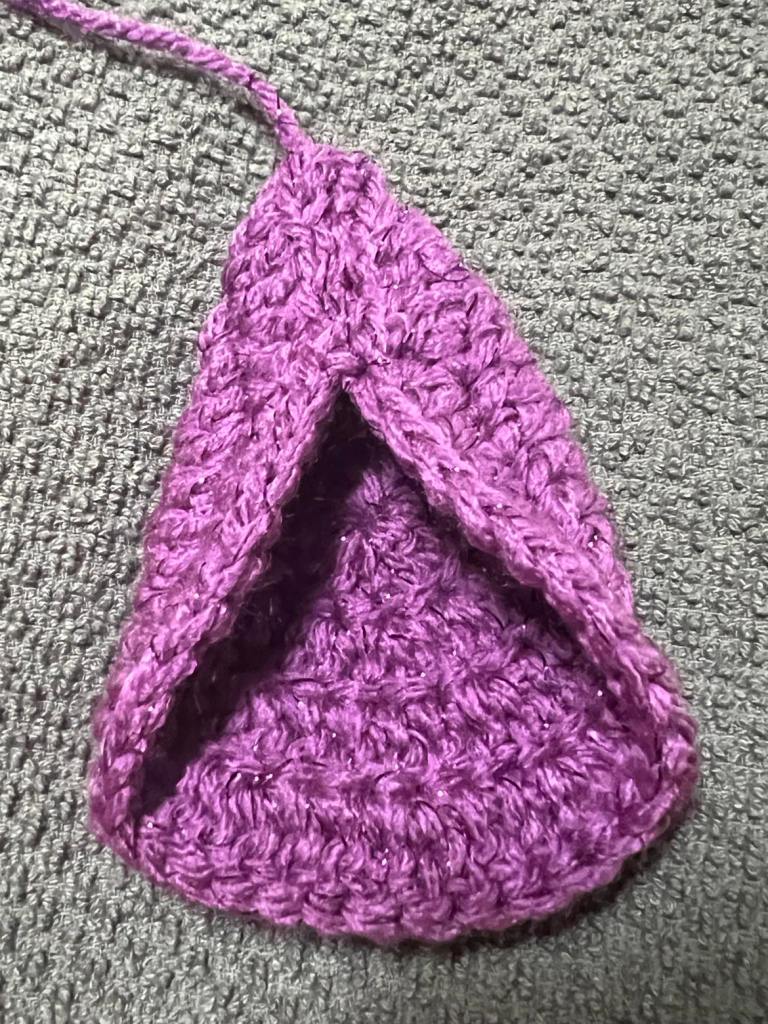
This hat was inspired by my love for the Grinch. It’s really a fun hat!
FUN FACT:
In the original book, the Grinch wasn’t green. The book was illustrated in black and white.
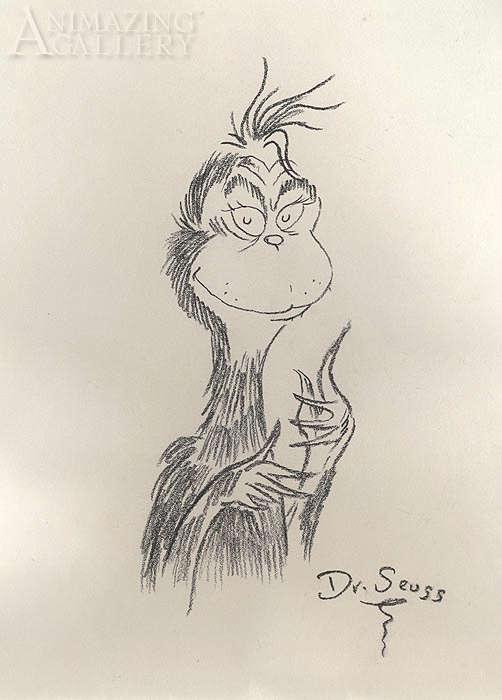
Chuck Jones did the colorization to enhance Dr Seuss’ original illustration.
So here’s what you will need to get started:
MATERIALS NEEDED:
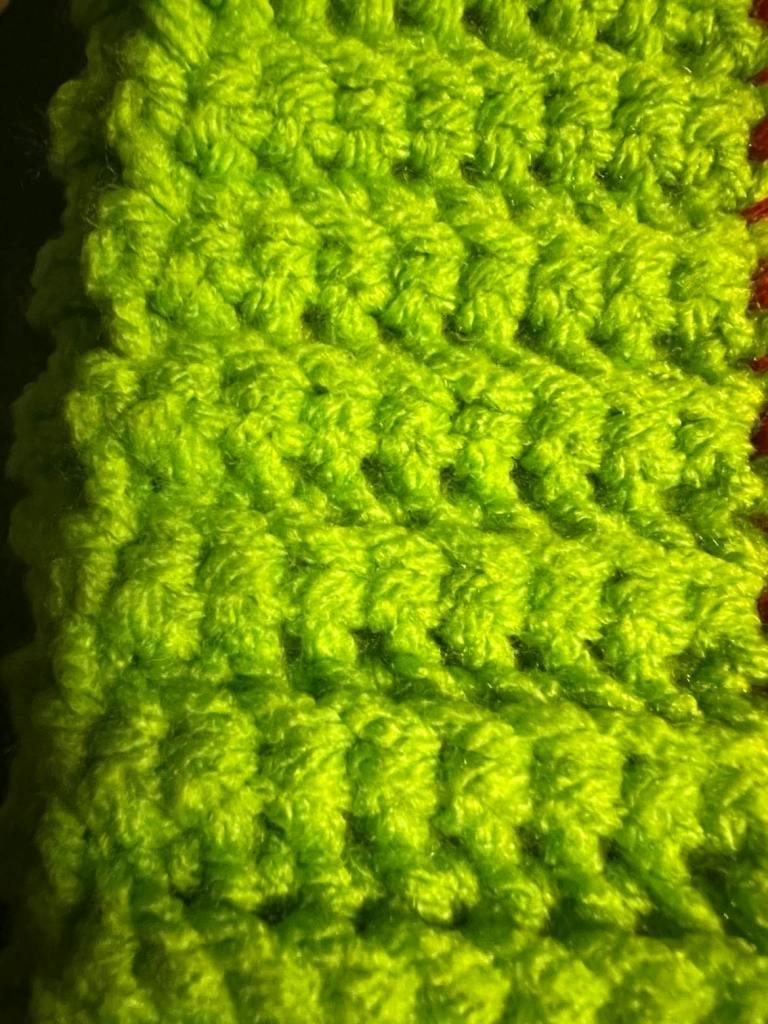
Worsted Weight Yarn in Lime Green – Approx 50 yds
Worsted Weight Yarn in Red – Approx 40 yds
Worsted Weight Yarn in White – Approx 40 yds
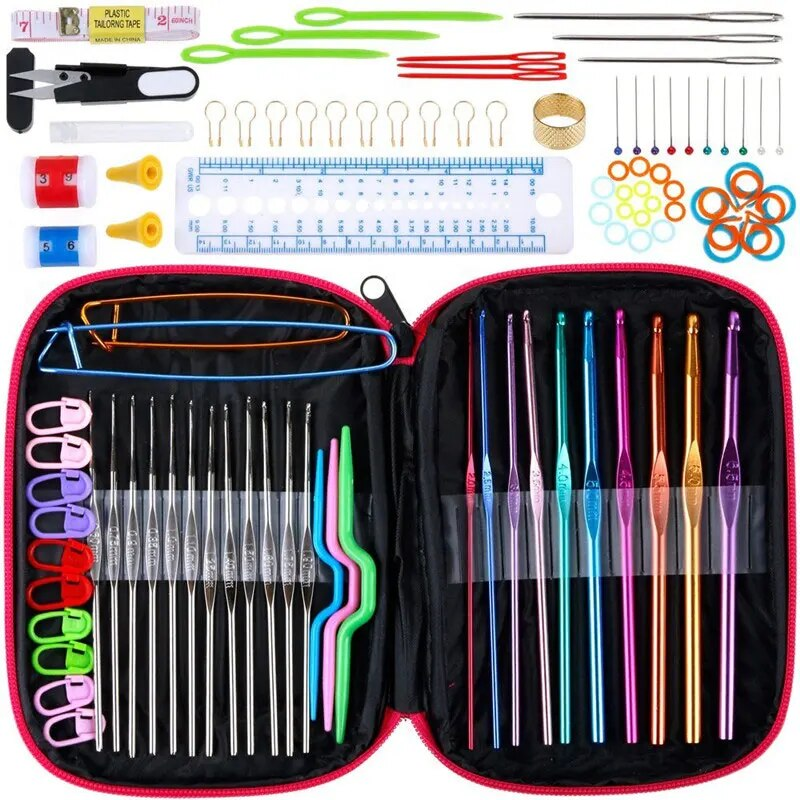
6mm hook
Scissors
Lime Green Pom Pom (This is where I ordered mine from)
Stitch Markers
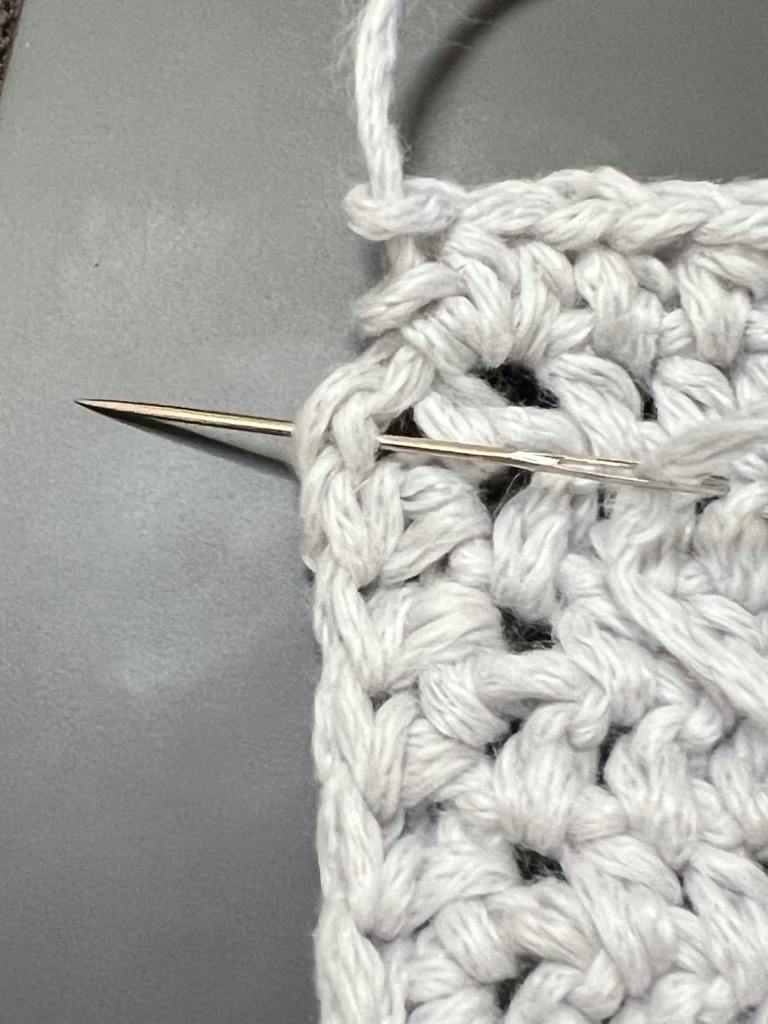
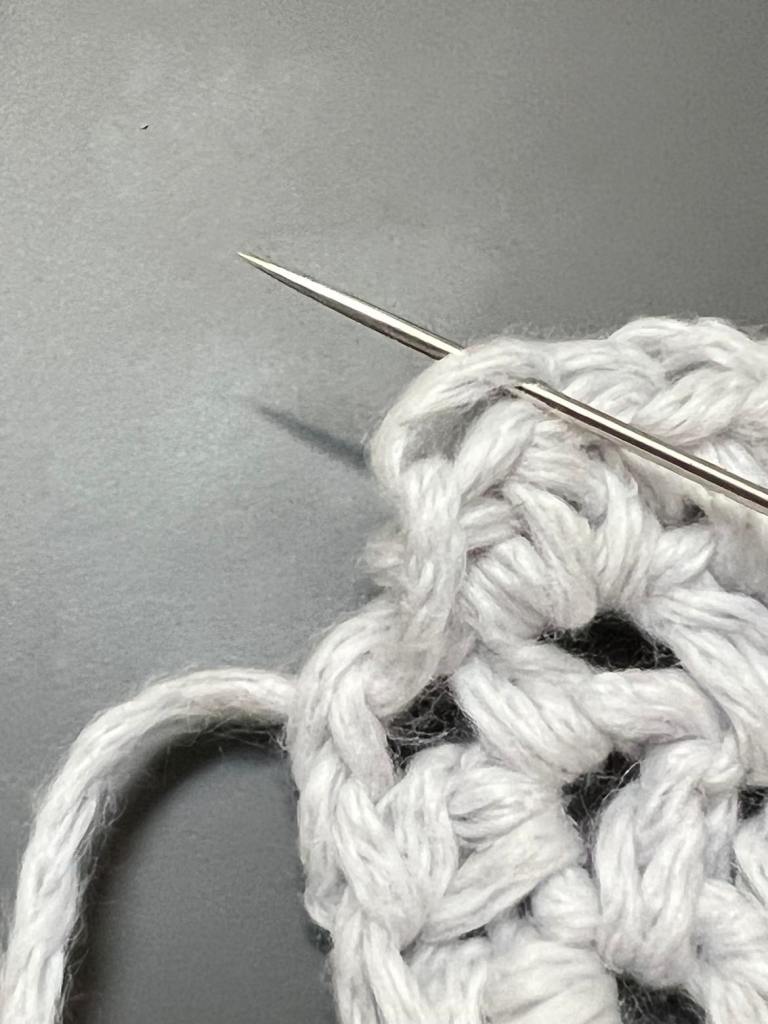
Tapestry Needle

The printable pattern for this beanie can be found in my Ravelry shop. Click here.
Did you know that the Grinch’s voice was that of Boris Karloff? However, he didn’t sing “You’re a Mean Once, Mr. Grinch”. That was sung by Thurl Ravenscroft who, incidentally, was the voice of Tony the Tiger too.

Stitches used and abbreviations:
Ch – chain stitch
St – stitch
Sc – single crochet
Hdc – half double crochet
Bn – bean stitch*
Sk st – skip stitch
Sl st – slip stitch
Dec – decrease
BLO – back loop only
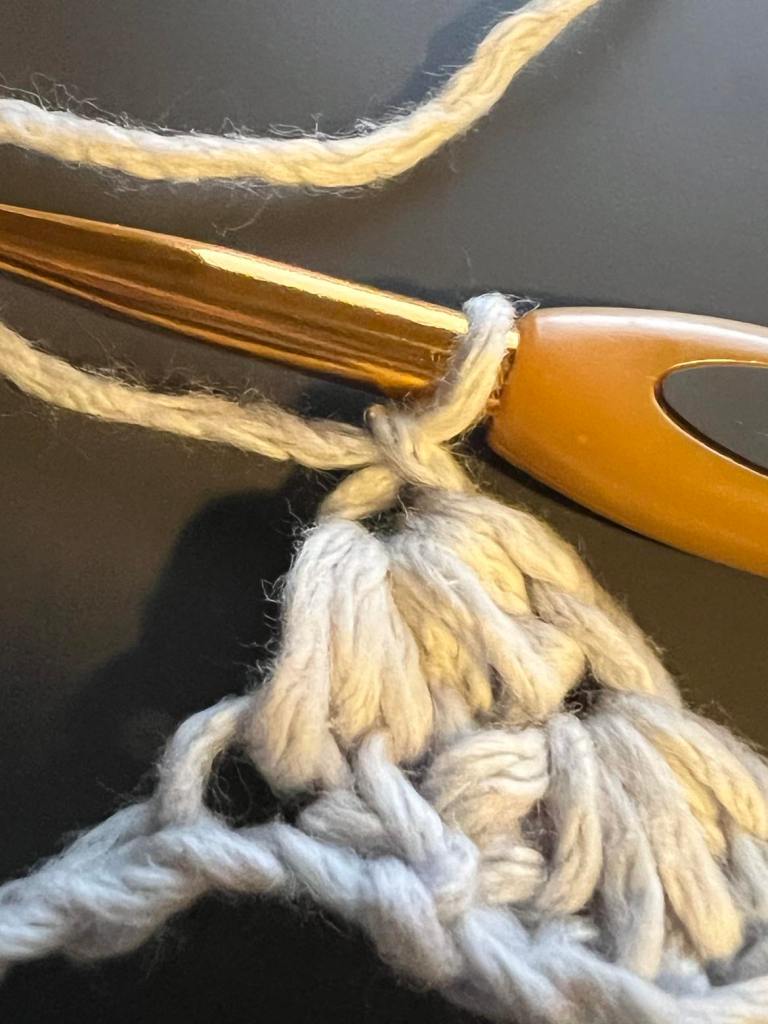
TLO – third loop only
FO – Fasten off

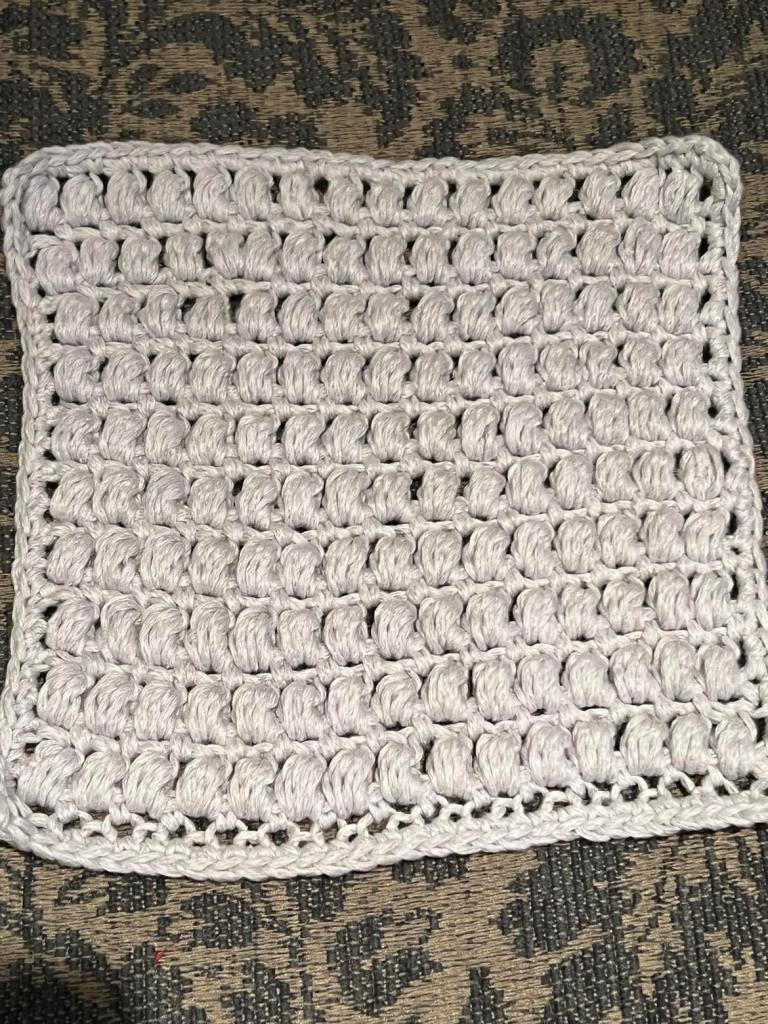
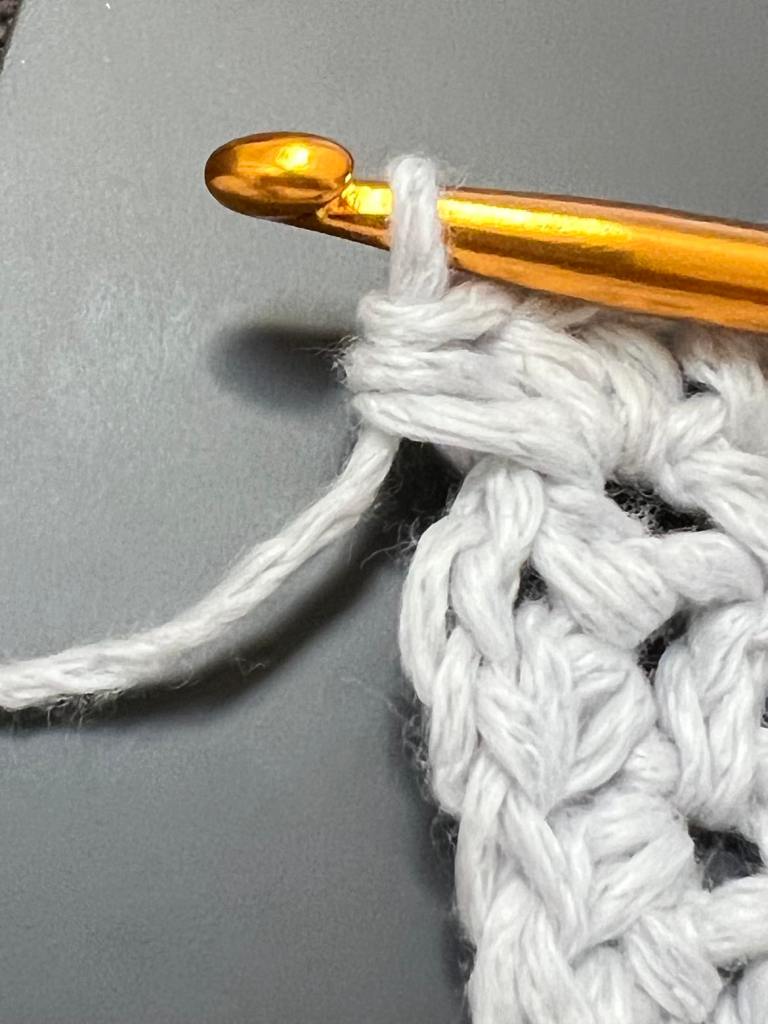
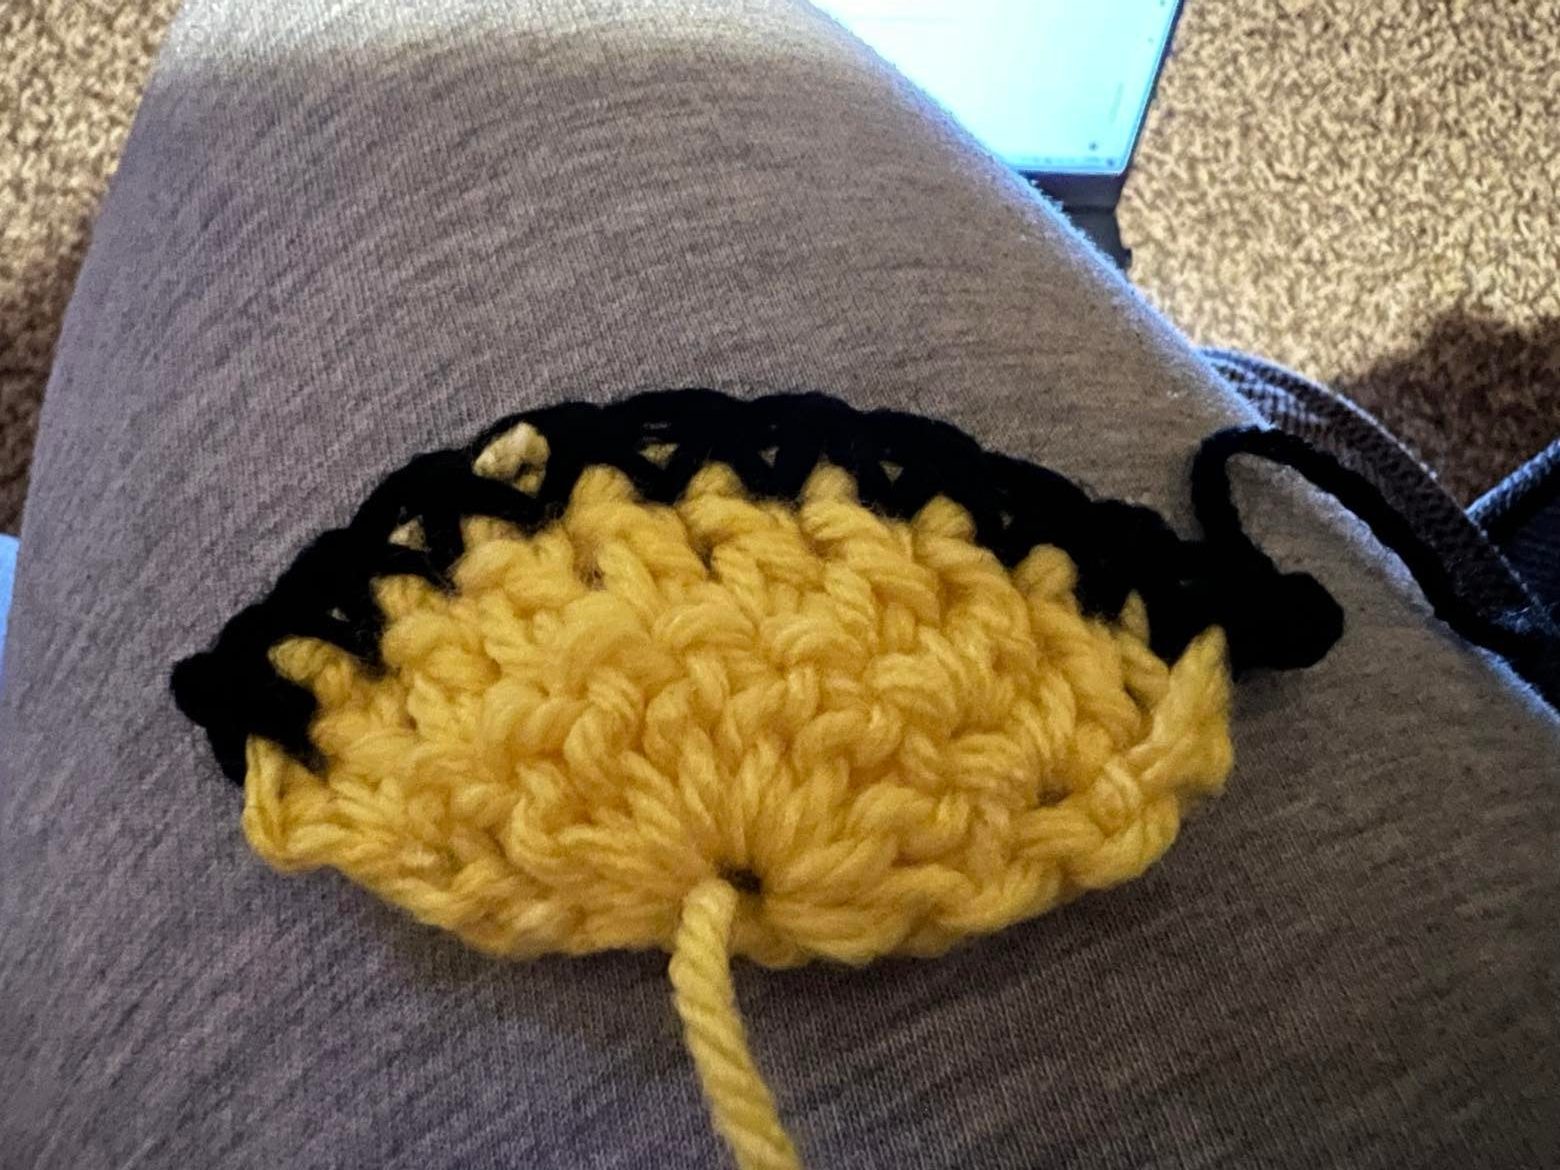
SPECIAL STITCH
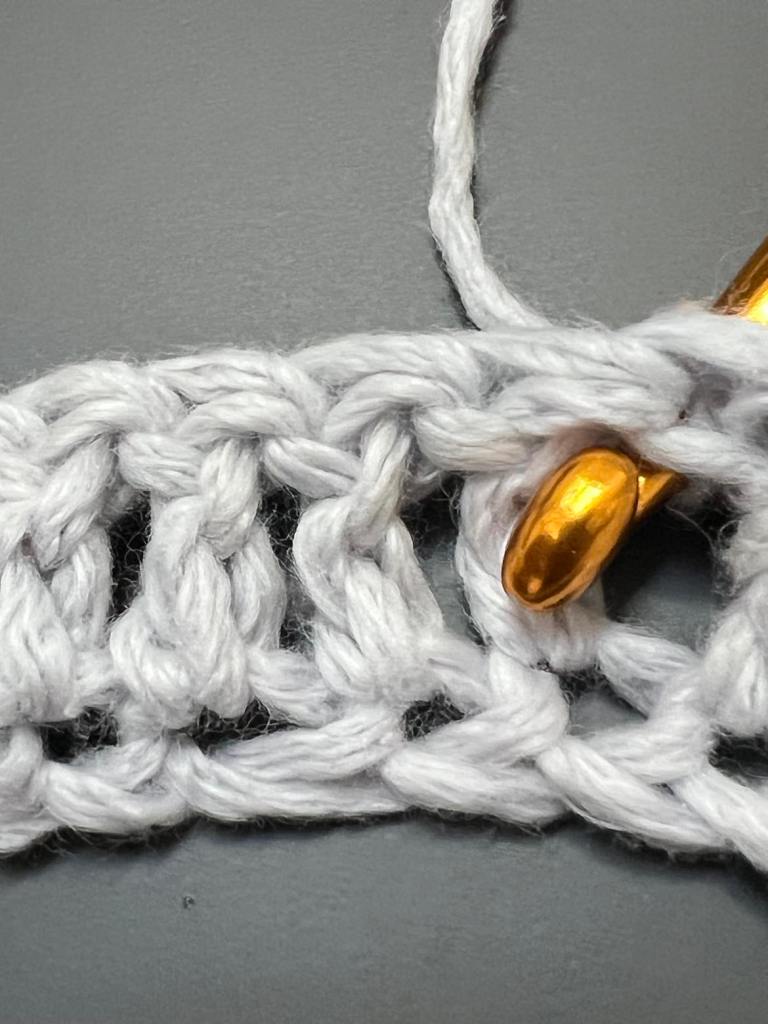
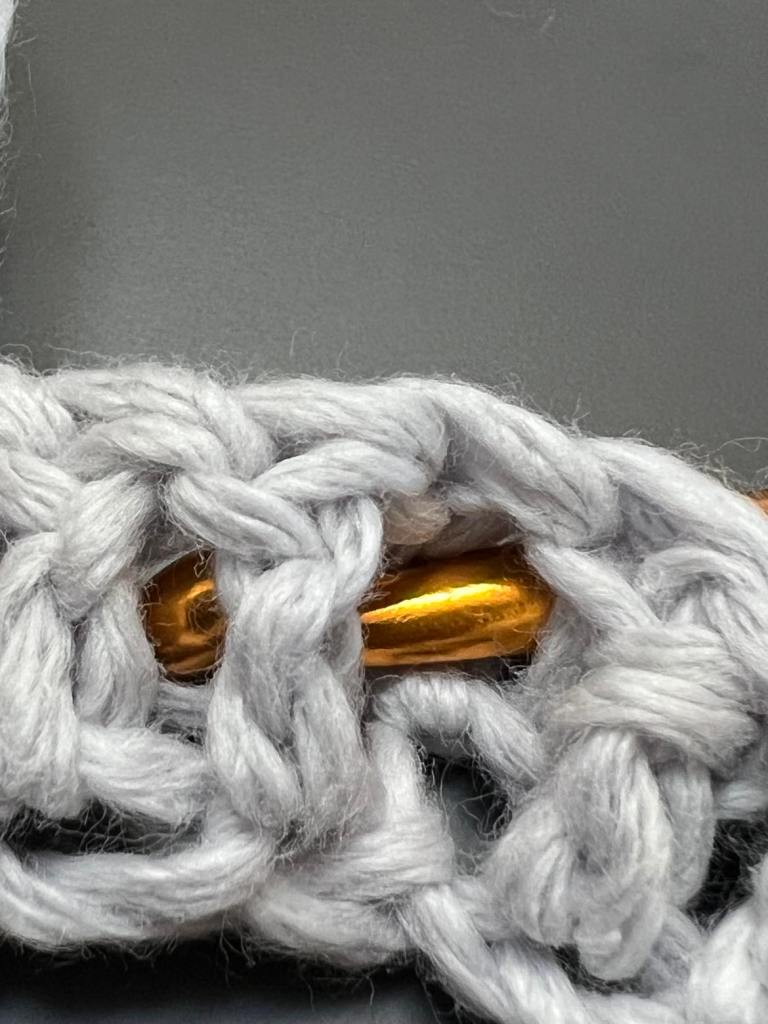
*Bean Stitch – Yarn over, insert in st, yarn over, pull up loop, yarn over, insert in same st, yarn over, pull up loop, yarn over, insert in same st, yarn over, pull up loop, yarn over, pull through all loops on hook, ch 1 to close.

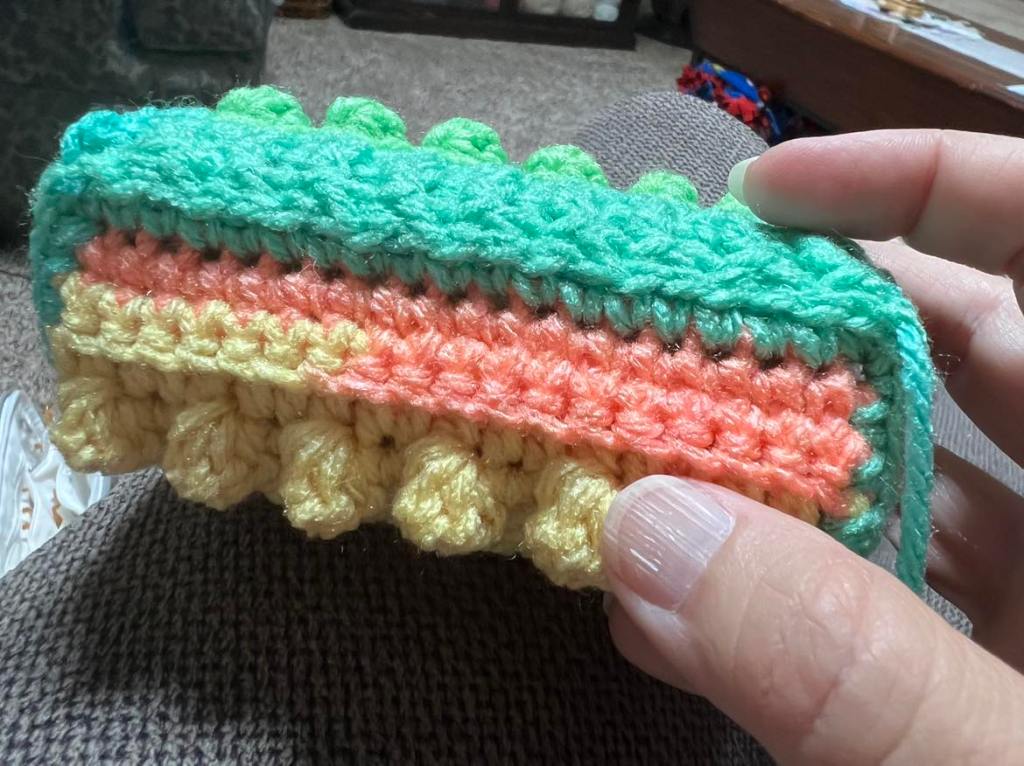
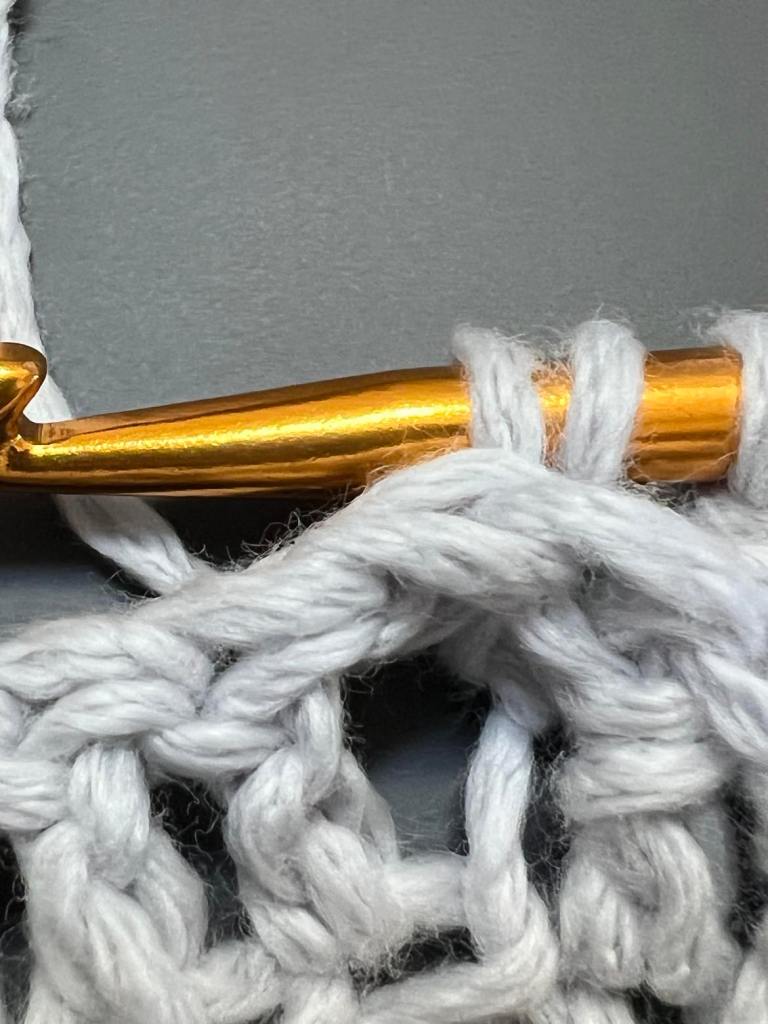
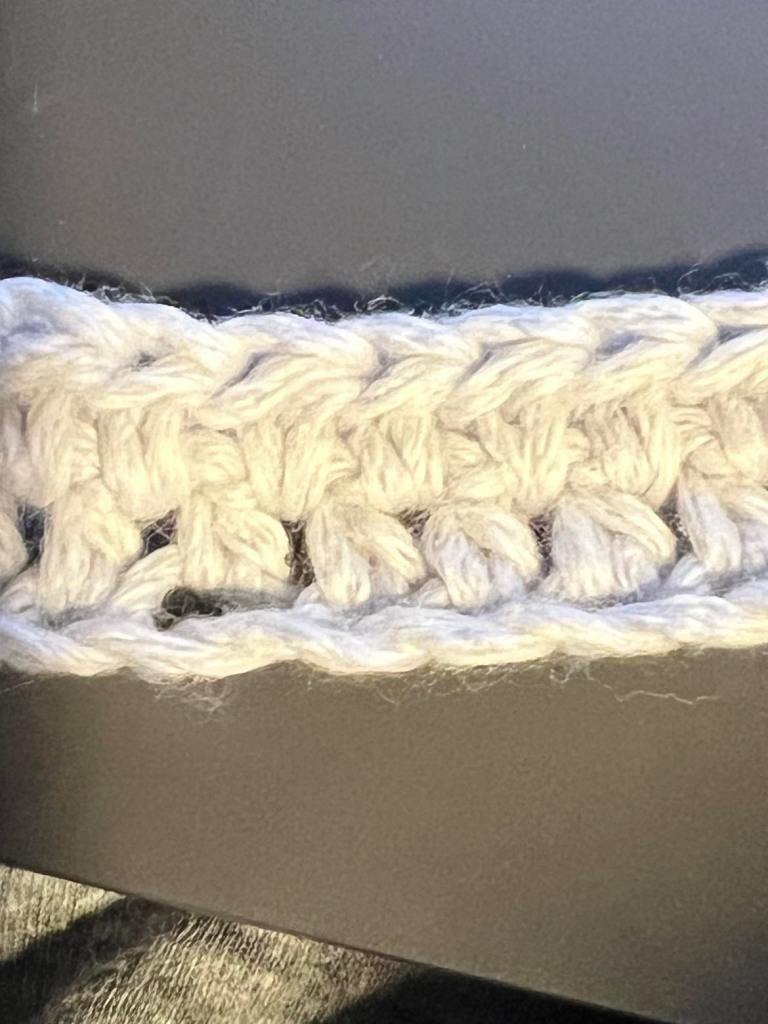
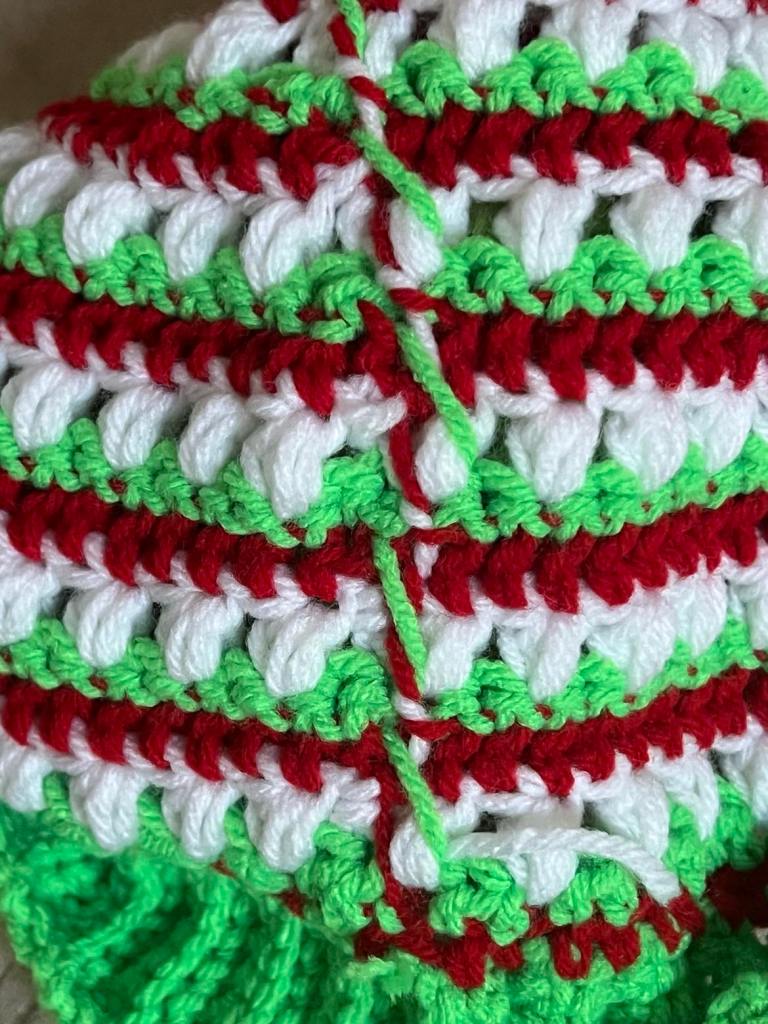
By using the third loop of the hdc, you will make the red row stick out a bit. This makes the red row more prominent.

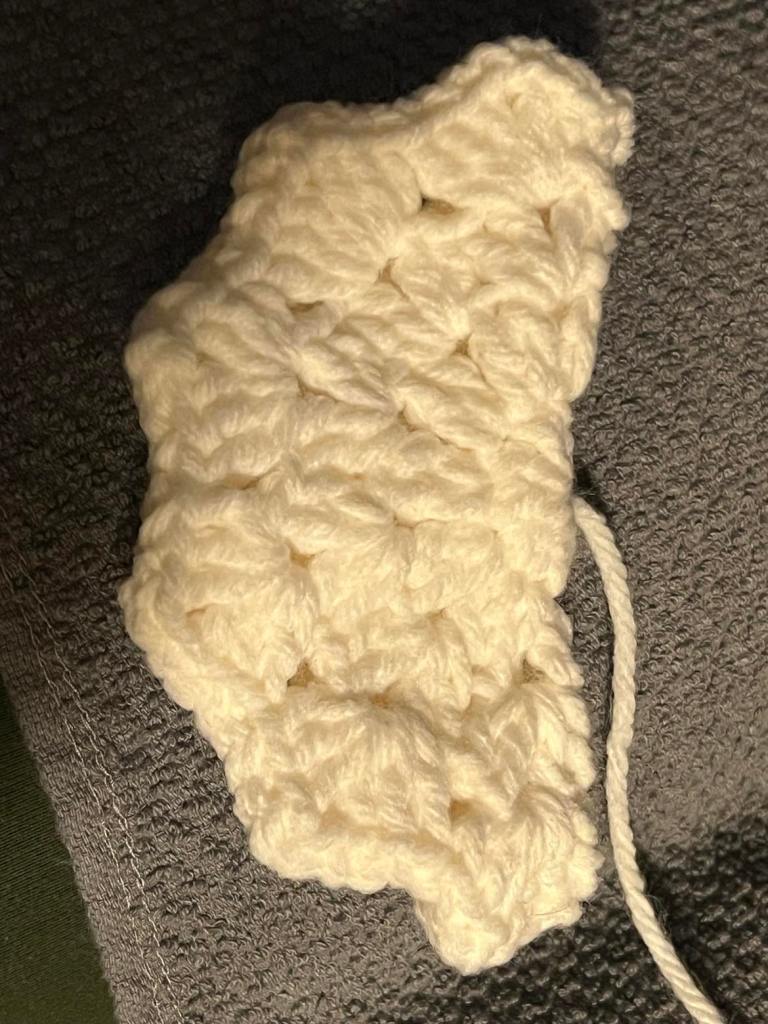
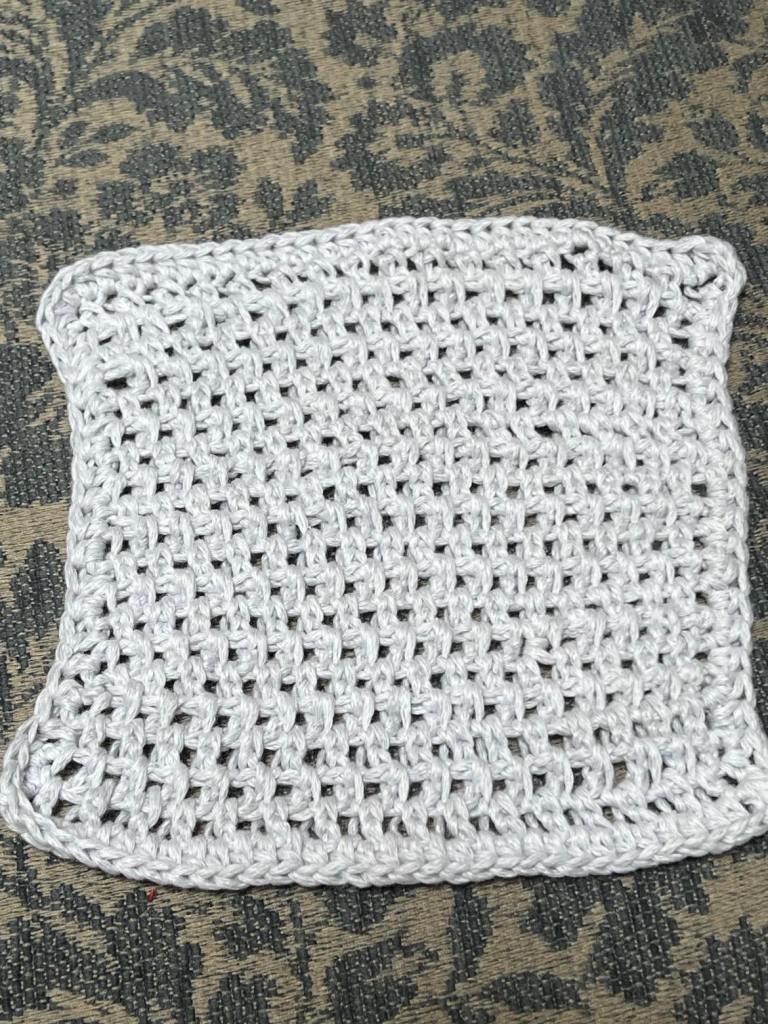
BRIM
Using green yarn
- Ch10, sc in 2nd ch from hook and down. (9)
- Ch1, turn, blosc in ea st. (9)
3-60. Repeat Row 2.
This should measure approximately 20″ in length.
Ch1, fold short ends together and sl st to make a loop, fo. (9)
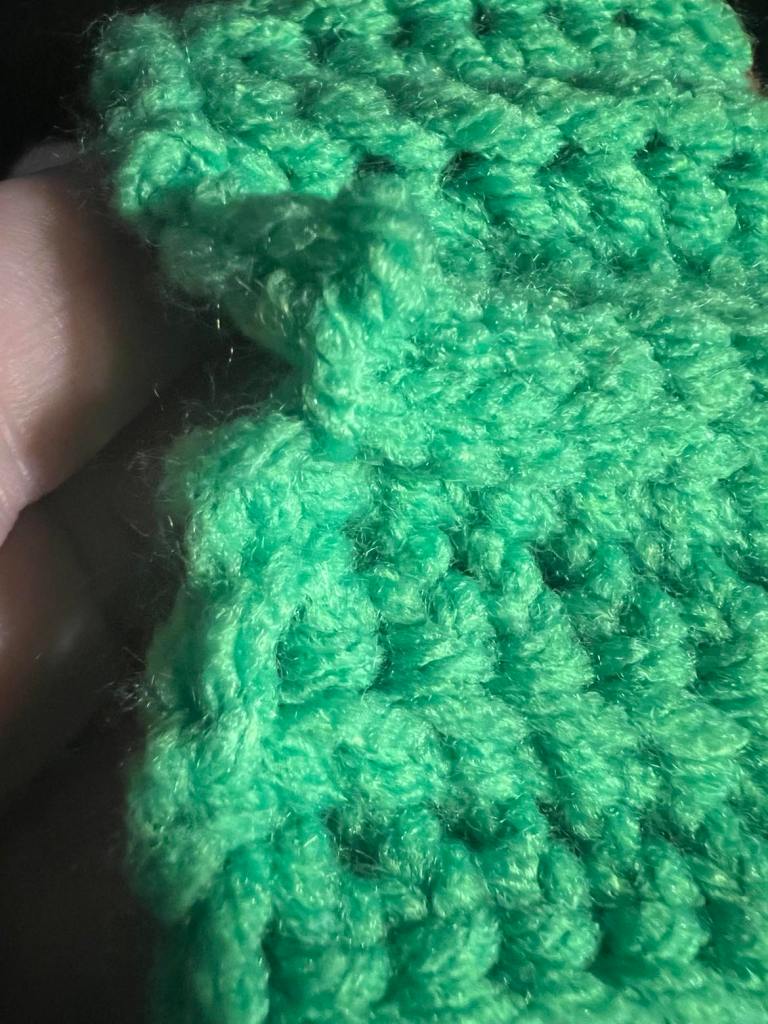
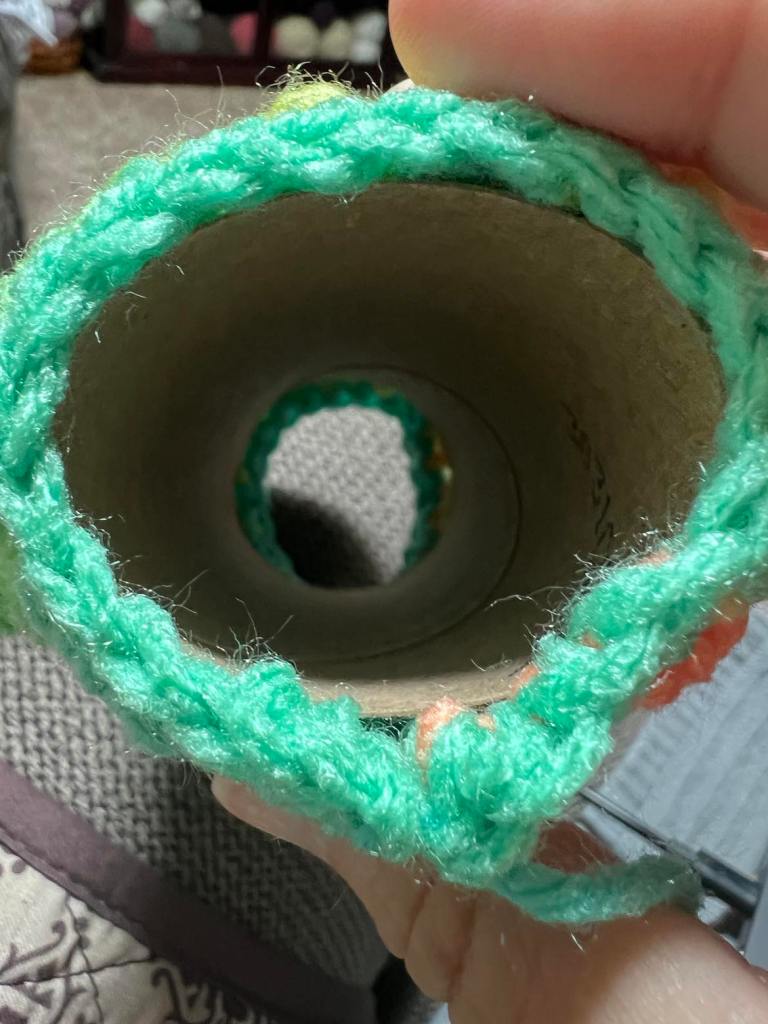
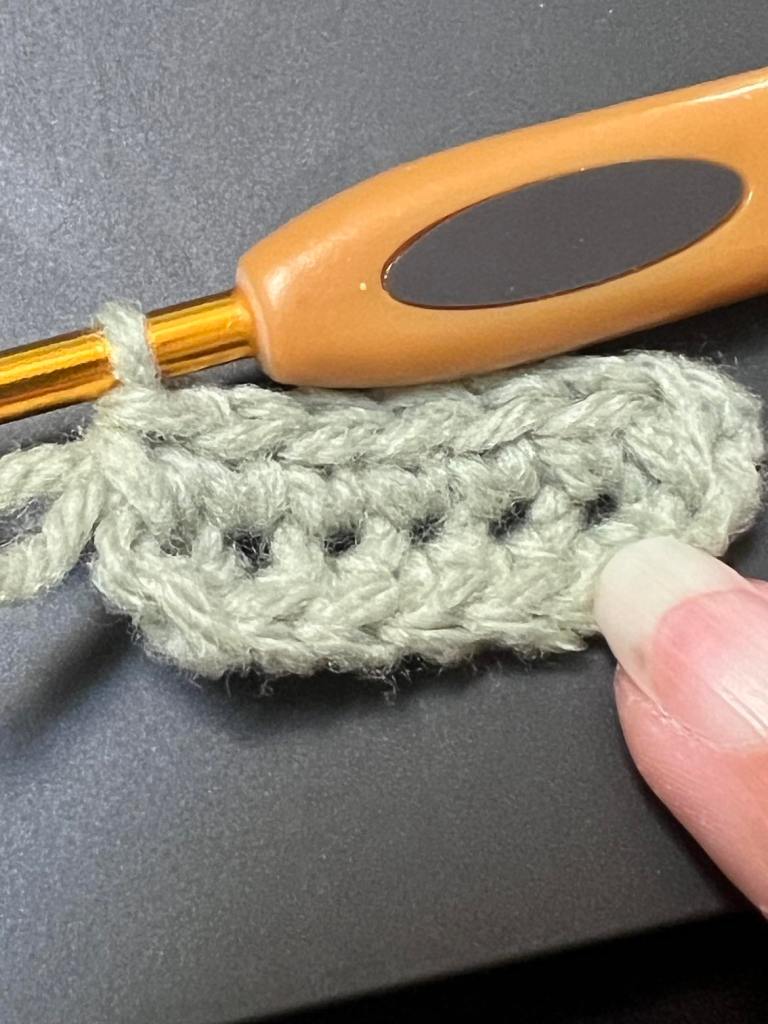
By using the back loop only, you will make the ridges for the brim. I prefer this method to the front post double crochet, back post double crochet version because I feel like it’s a more solid weave.
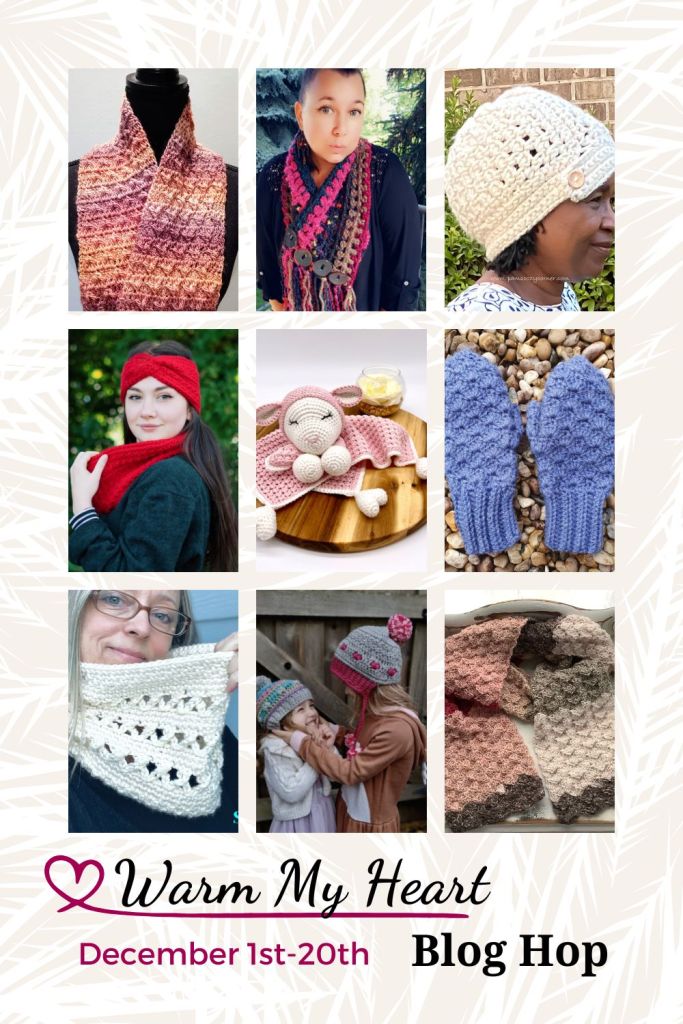
There are several free patterns available on my blog and there will be more to come, so…
SUBSCRIBE AND FOLLOW so you don’t miss a thing.

If you are wanting the printable version of this pattern, you can get it here, at my Ravelry store.

You will now start using all three yarn colors. I do not cut the yarn at the end of each row, I simply drop it and leave it on the inside of the hat until I need it again. That way, you have less mess, less work and will use less yarn.
BODY
Start with red yarn
- Attach yarn at the 1st row next to the seam, ch1, hdc in ea row around, change to green yarn at the join. (60)
- Ch1, tlosc in ea st around, change to white yarn at the join. (60)
- Ch2, *bn, sk st* x 30, change to red yarn at join. (60)
- Ch1, hdc in ea st around, change to green yarn at join. (60)
- Repeat Round 2.
- Repeat Round 3.
- Repeat Round 4.
- Repeat Round 2.
- Repeat Round 3.
- Ch1, *hdc8, hdcdec* x 6, change to green at the join. (54)
- Ch1, *tlosc7, tloscdec* x 6, change to white a the join. (48)
- Ch2, *bn, sk st* x 24, change to red at the join. (48)
- Ch1, *hdc6, hdcdec* x 6, change to green at the join. (42)
- Ch1, *tlosc5, tloscdec* x 6, change to white a the join. (36)
- Ch2, *bn, sk st* x 18, change to red at the join. (36)
- Ch1, *hdc4, hdcdec* x 6, change to green at the join. (30)
- Ch1, *tlosc3, tloscdec* x 6, change to white a the join. (24)
- Ch2, *bn, sk st* x 12, change to red at the join. (24)
- Ch1, *hdc2, hdcdec* x 6, change to green at the join. (18)
- Ch1, *tlosc, tloscdec* x 6. (12)
- Scdec x 6, fo leaving long tail to close the hole. (6)
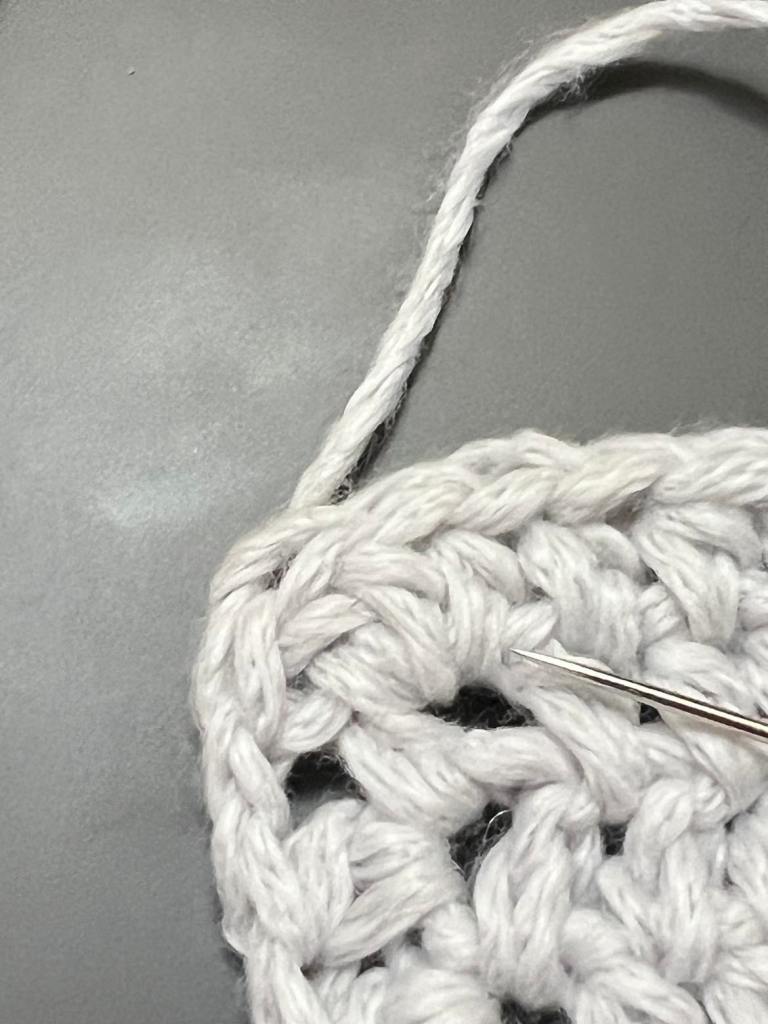
Using tapestry needle, weave in and out of ea st around and cinch close, weave in ends.
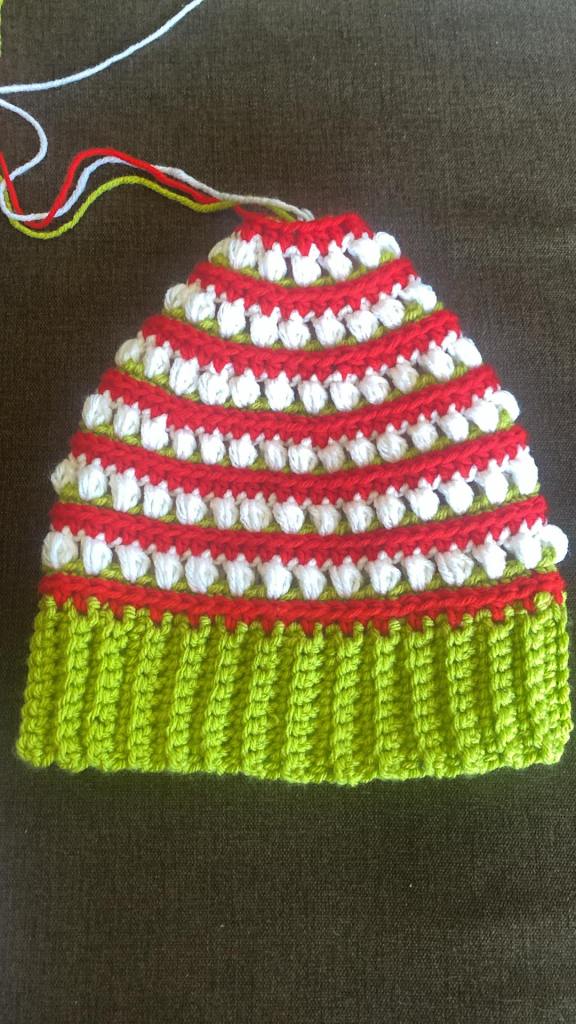
We’re almost finished. Isn’t it just adorable?! Don’t forget to LIKE and SUBSCRIBE to this blog so you don’t miss out on other amazing free patterns and events coming up.
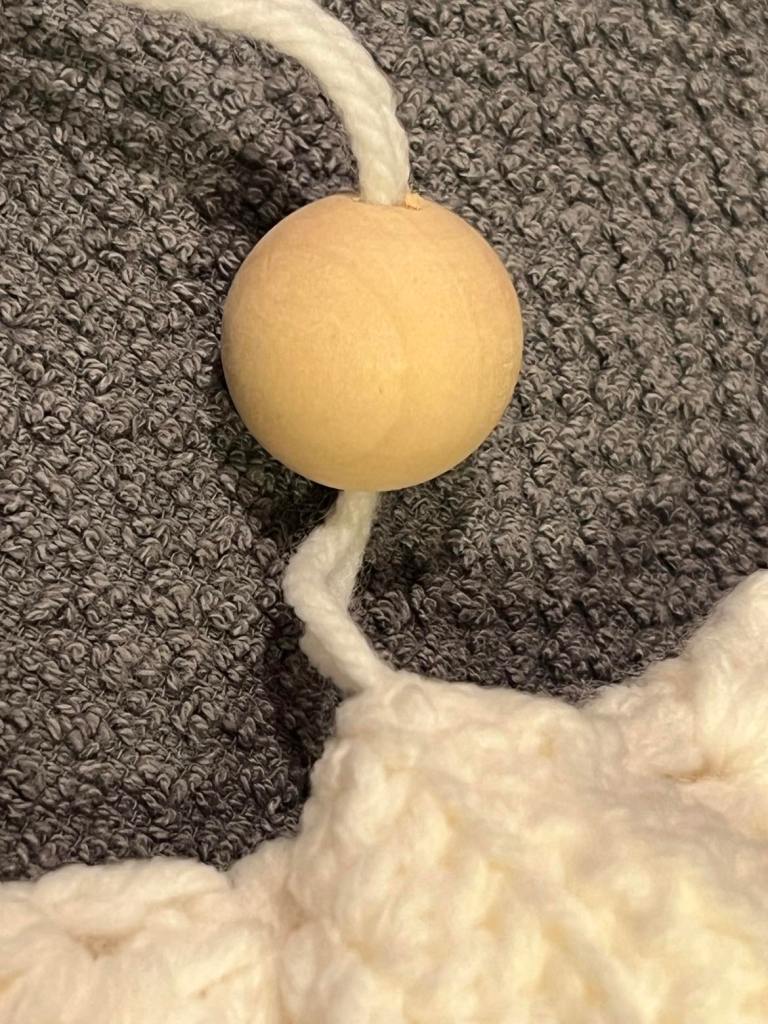
Attach pom pom. I always attach the pom pom using a button so that it can be removed for washing of the hat.

Now for the fun part…
Put it on and enjoy the fruits of your labor!!!!